
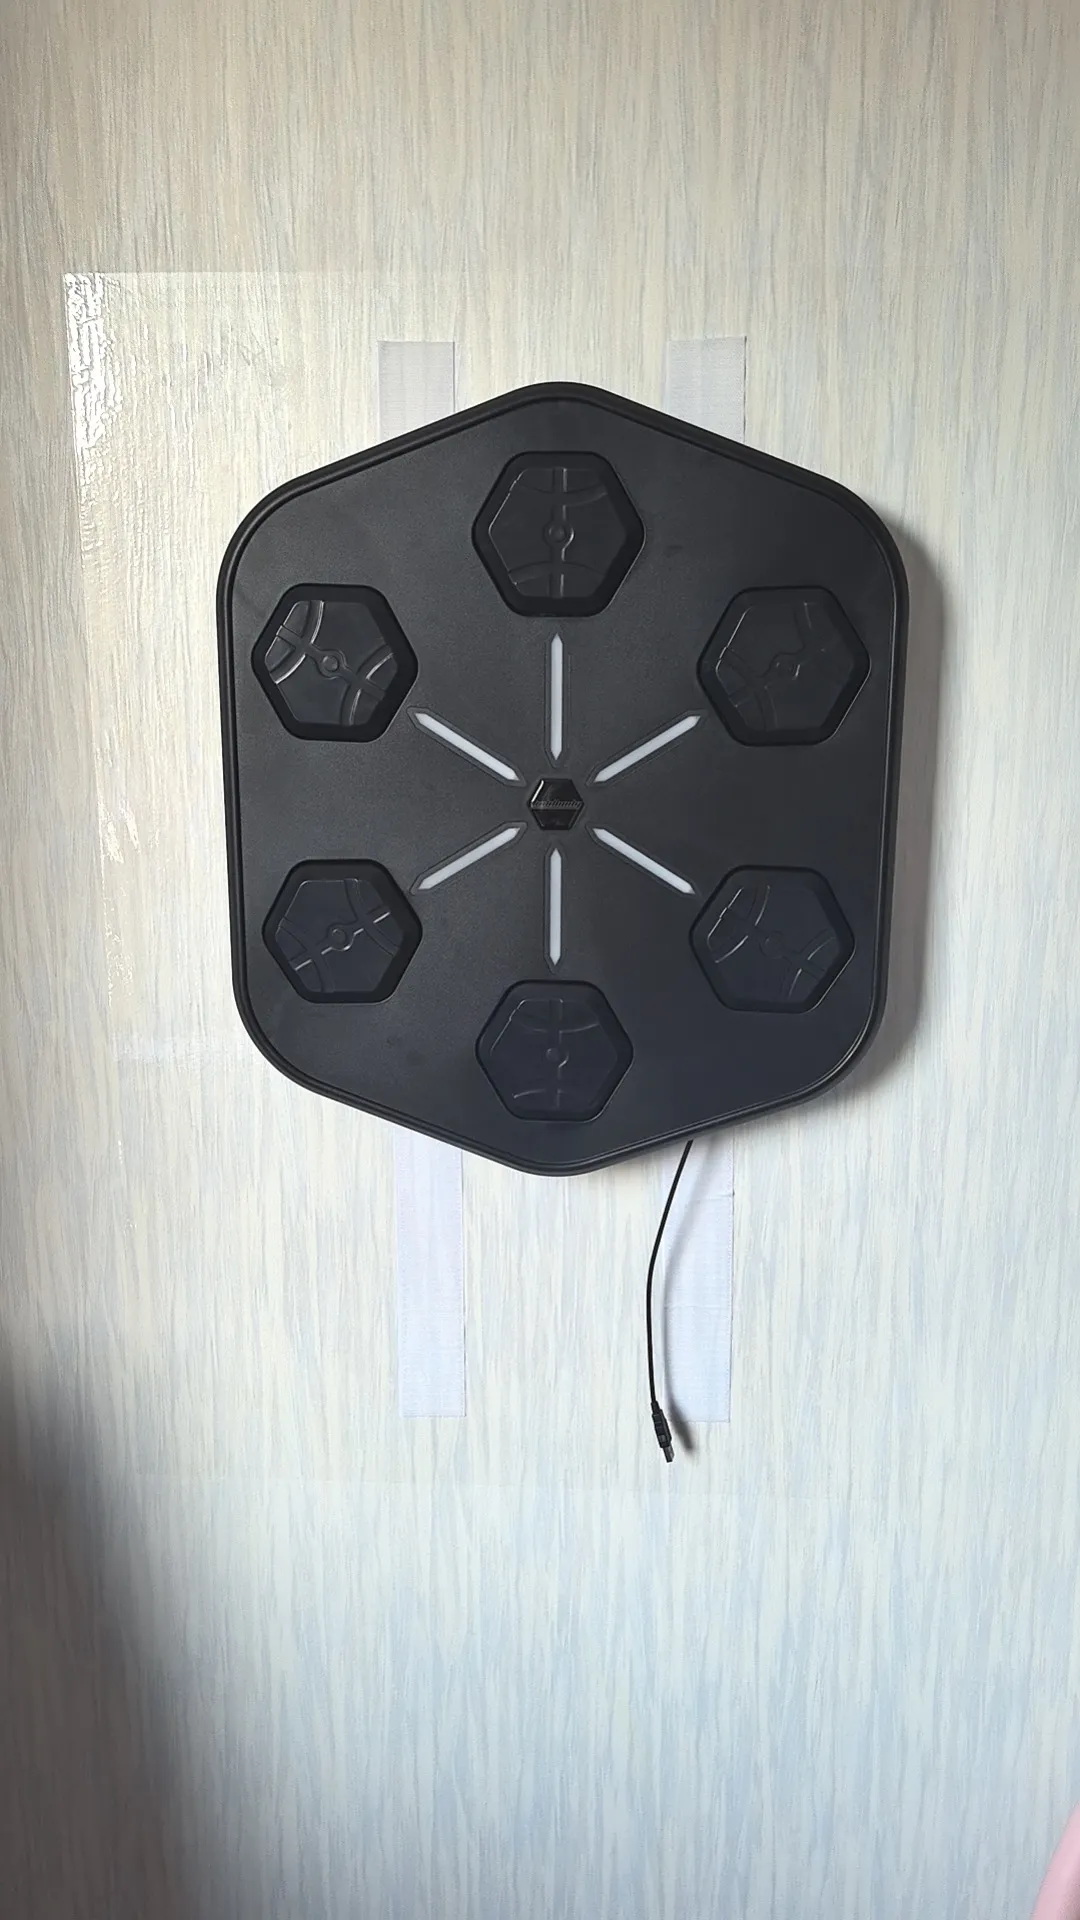
Direct answer: Installing the Smart Boxing Machine (Se-03) doesn’t require a professional installer — wall-mounting hardware ships in the box. The real work is upfront: confirm your wall can take a mounted load, check you have a power outlet nearby (it’s mains-powered, not battery, 15W, AC 100-240V), and mount using the included hardware. We haven’t published exact anchor/screw specs or a recommended mounting height — check the printed instructions in the box, or confirm with us before you drill.
What’s in the box before you start
Before touching the wall, lay everything out and confirm you have: the machine unit itself, the wall-mounting accessories, one pair of boxing gloves, and a mains power cable. There’s no battery pack to charge — this is a mains-powered unit from the first power-on. If anything’s missing from that list, sort it out with us before you start drilling rather than partway through.
Check the wall before you touch the bracket
This is the step most worth slowing down for. The included hardware assumes a wall capable of taking a securely mounted load, and confirming that is the buyer’s responsibility — not something PunchPowerUp verifies for you remotely. A concrete or masonry wall, a stud-and-drywall wall, and a hollow partition wall aren’t the same mounting job, and the right anchor for one isn’t necessarily right for another.
We don’t have a published wall-load requirement in kilograms or a specific anchor/screw specification to hand out here — that level of detail is in the printed instructions that ship in the box. If you’re not confident reading your wall type correctly, that’s a reasonable point to bring in someone who is (an electrician, a handyman, building maintenance) before you commit to a mounting location, even though PunchPowerUp itself doesn’t require a professional installer.
Plan the power source before you mount, not after
The unit runs on mains power — AC 100-240V, 50/60Hz, auto-switching, rated at 15W — with the power cable included in the box. There’s no battery option, so wherever you mount it has to be within reach of a usable outlet; if your ideal wall location is more than a cable’s length from a socket, that’s worth solving before you mount, not after the bracket is already up.
Plug type follows the destination: European orders ship with an EU plug, and orders to other regions ship with a CN plug — if you’re outside the region your order matches, have a compatible adapter on hand before you unbox. The auto-switching 100-240V rating means the unit itself doesn’t care which region’s mains voltage it sees; it’s just the physical plug that needs to match. If you want general background on what electrical-goods labeling like CE marking means for the EU market, that’s a useful starting reference — this article isn’t the place to make a compliance claim one way or the other, so confirm any certification question directly with us if it matters for your purchase. We don’t have a published cable length figure, so measure the distance to your intended outlet against the cable in hand rather than assuming it’ll reach.
Mounting the bracket and hanging the unit
With the wall type and power location settled, the general sequence is: position the bracket where you’ve confirmed the wall and power both work, secure it using the included hardware, then hang the unit and confirm it sits flush and doesn’t shift when you apply light pressure. We don’t have a published recommended mounting height, an estimated installation time, or confirmation of which specific tools are required beyond what’s in the box — the printed instructions are the authoritative source for that level of detail, and it’s worth reading them fully before you start rather than working from general wall-mounting habit.
If anything about the bracket or hardware doesn’t match what you expected from the box contents above, stop and confirm with us rather than improvising a fix.
Powering on and pairing the app
Once it’s mounted and plugged in, the next step is powering on and pairing the app. Worth knowing ahead of time: an early batch of these machines shipped with an app registration screen available only in Chinese, which left several European buyers stuck at this exact step before English onboarding was added. If registration doesn’t present in a language you expect, that’s a known issue rather than something wrong with your unit specifically — check for an updated app version or confirm current language support with us before assuming the setup has failed. For the full picture on the app itself — name, download links and how the language behaviour works — see the dedicated app setup guide.
What to check before you call the install done
- Test all six striking targets to confirm they’re responding before you consider the install finished.
- Recheck the bracket for movement under light pressure — do this once more after the first real use, not just right after mounting.
- Keep your order confirmation on hand. The unit carries a 12-month warranty from delivery for confirmed defects — if a scenario involves how it was installed, confirm coverage with us rather than assuming either way (see FAQ below); having the order details ready makes that process faster regardless.
Frequently asked questions
Do I need to hire an electrician or professional installer?
Not required by PunchPowerUp — wall-mounting hardware is included and no professional installer is mandated. That said, if you’re unsure about reading your wall type or your power setup, bringing in someone qualified for that specific judgment call is reasonable, even though it’s not a requirement of the product itself.
How long does installation actually take?
We don’t have a published time estimate. It depends on your wall type, how quickly you can confirm a suitable power location, and your own familiarity with wall-mounting work — the printed instructions are the best source for a realistic estimate for your situation.
What if I’m not sure my wall can handle it?
Don’t guess. We don’t have a published weight-bearing requirement to check yourself against, so if you’re uncertain, that’s exactly the situation where bringing in someone who can assess the wall properly is worth it before you drill.
The app won’t accept my language during setup — is my unit broken?
Probably not. An early batch shipped with Chinese-only registration screens, which has since been addressed with English onboarding. Check for an app update first, and confirm current language support with us if the problem persists.
Does incorrect installation affect the warranty?
We don’t have a published policy specifically addressing installation-related damage. The 12-month warranty covers confirmed defects in the unit itself — if you’re unsure whether a specific installation scenario is covered, confirm with us before you proceed rather than assuming either way.
Related reading
- Haven’t ordered yet? See the venue-sizing and ordering guide before you plan the install
- For the manufacturer/seller relationship and what can’t be customized, see the manufacturer/seller ordering breakdown
- Installing in a gym versus a home? See why a gym wall and a home wall aren’t the same mounting job
- See the Smart Boxing Machine product page for the full spec list
Not sure about your wall type or power setup before you order? Confirm it with us first.
Editorial note: Product specifications and commercial rules are stated only where verified. Published and updated dates come from the WordPress post record.